The Calendar feature will enable you to share with your users the place and date of your events and the ones you will be present to.
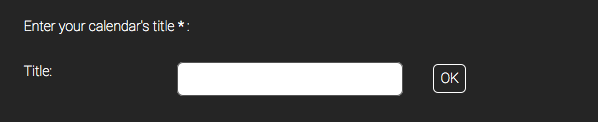
To create a Calendar feature, click on “Calendar”  in the add pages part. This page appears:
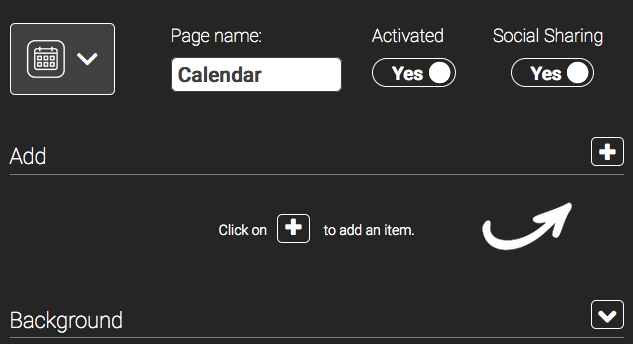
Click on ![]() to add a calendar. You have 3 options:
to add a calendar. You have 3 options: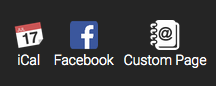
- Custom
iCal

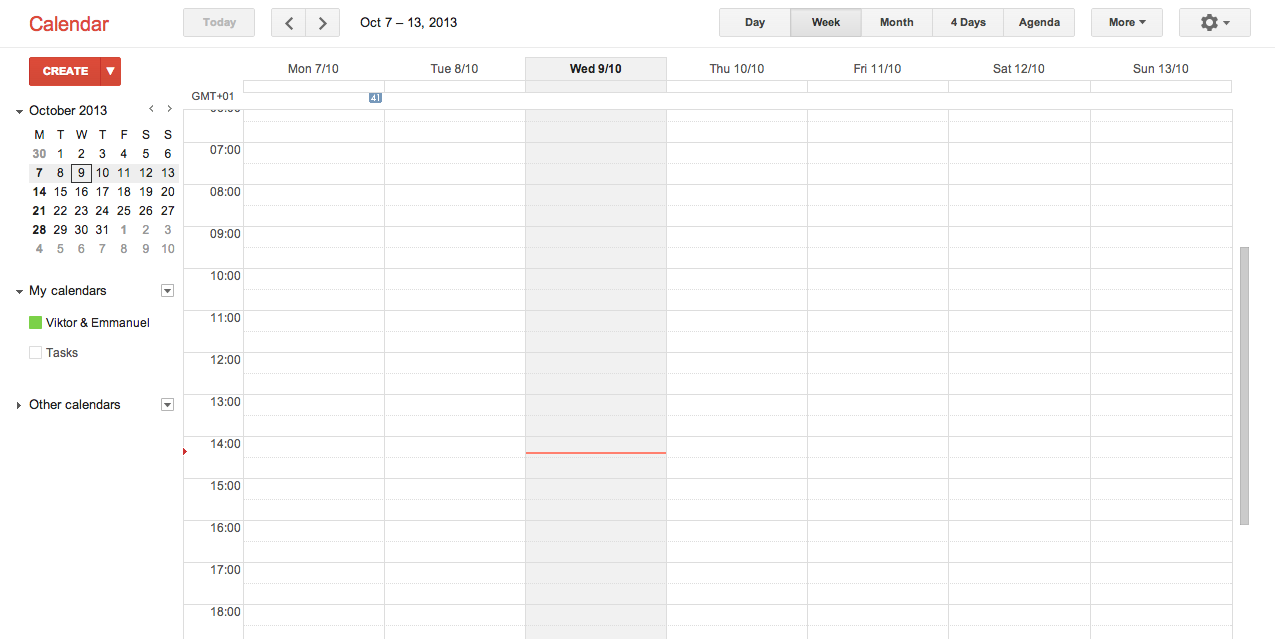
- Create your event on Google Calendar:
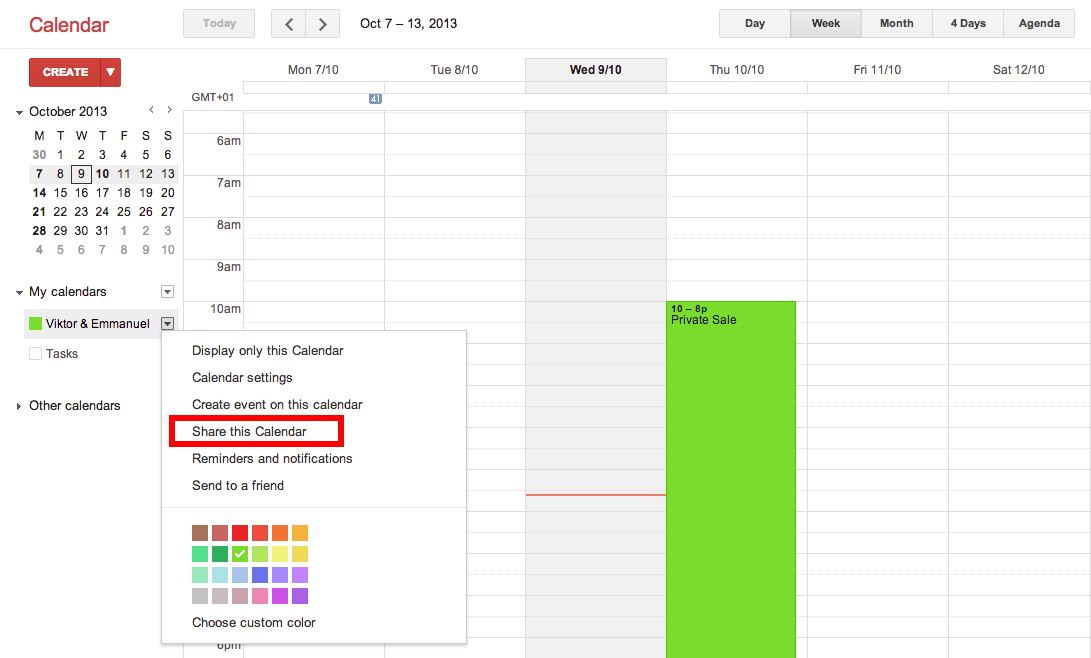
- Find the agenda’s URL. To do this click on “Share this calendar” :
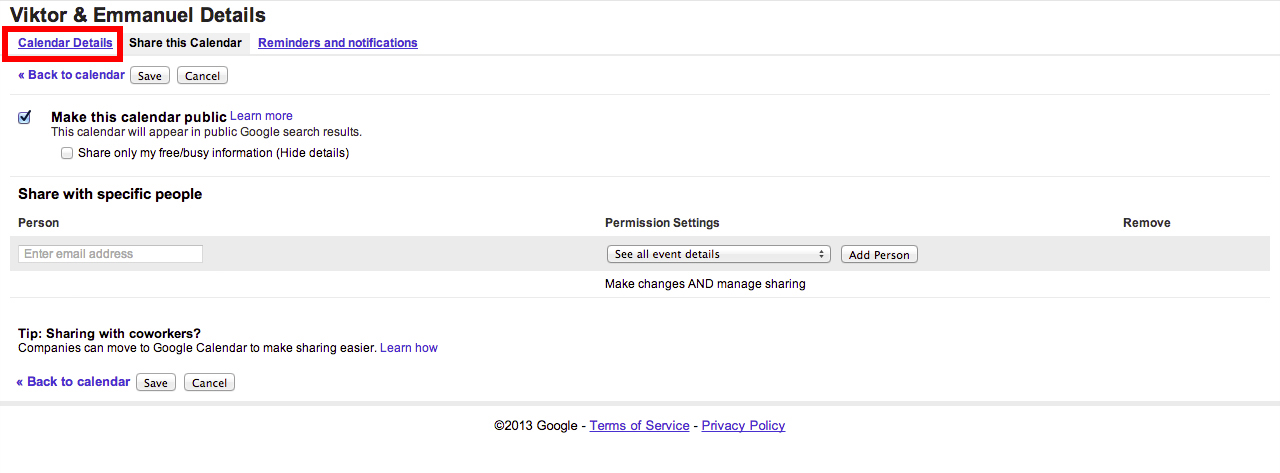
- Click on “Calendar Details”
- Click on “ICAL” in the Calendar Address :
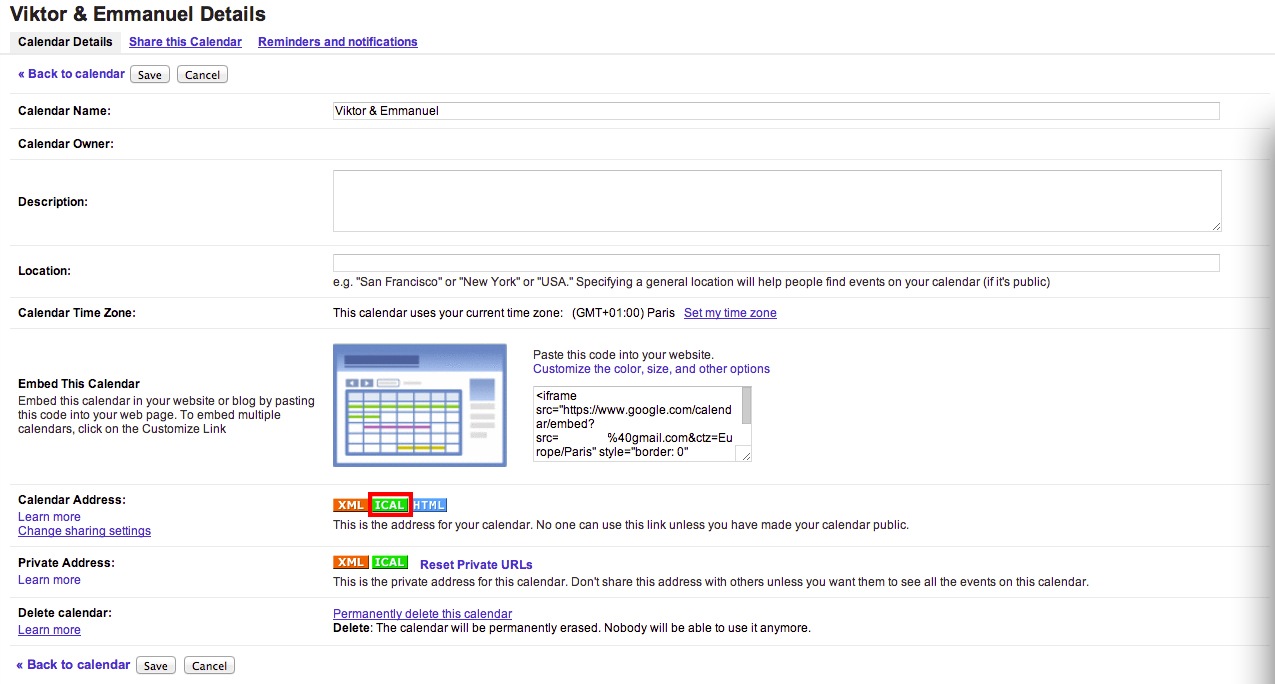
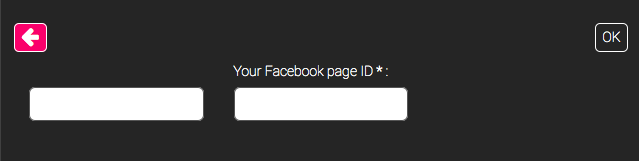
- Copy this address and paste it in the “Calendar’s URL ” field:

Finally click on OK to validate your event.
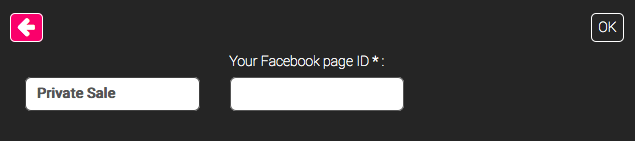
Custom
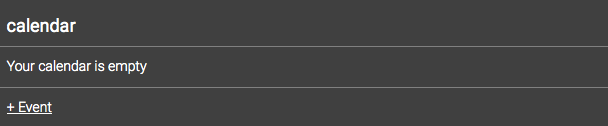
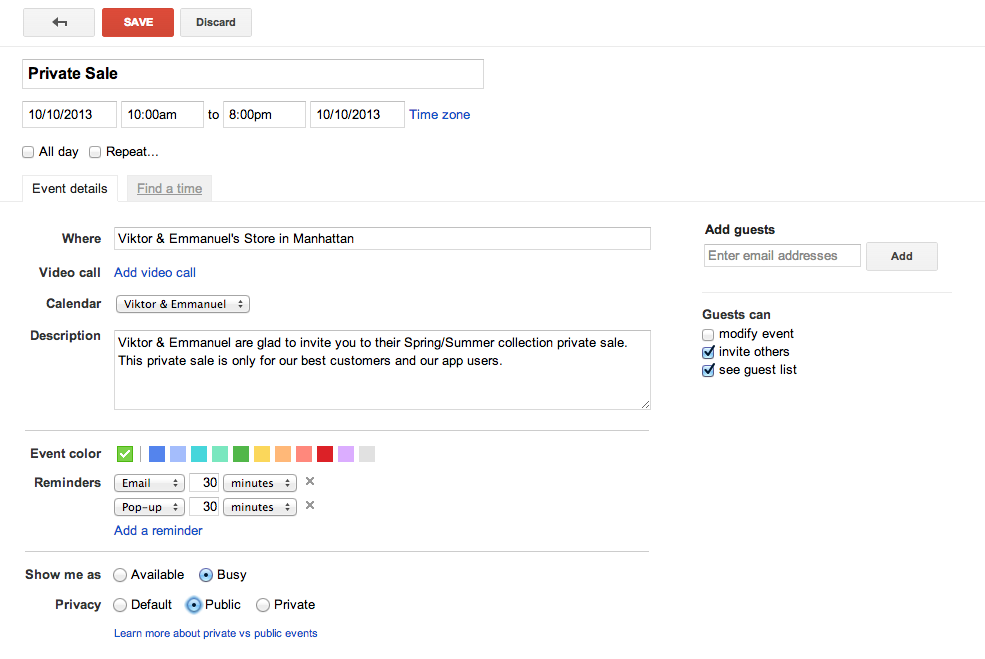
To create a new event click on +Event. This appears:
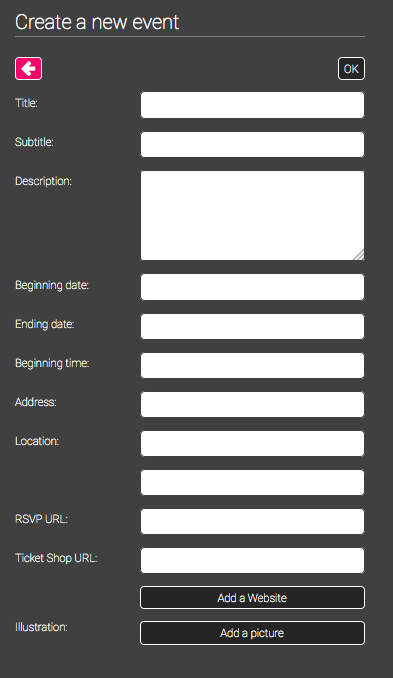
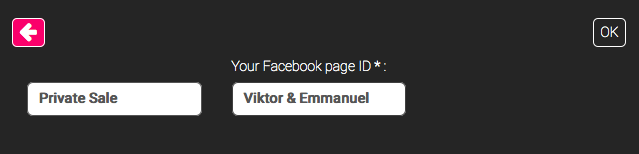
Thus, you have to enter all the required information for your event and an illustration picture.
In the expected answer you can enter the URL of your booking center if your users have to book a reservation.